SoftNote Wallet Mobile App Guide. Part 1
Welcome to the SoftNote Wallet Mobile App. In this article, we will introduce you to the wallet and guide you through its most important features.
Welcome to the SoftNote Wallet Mobile App. In this article, we will introduce you to the wallet and guide you through its most important features.
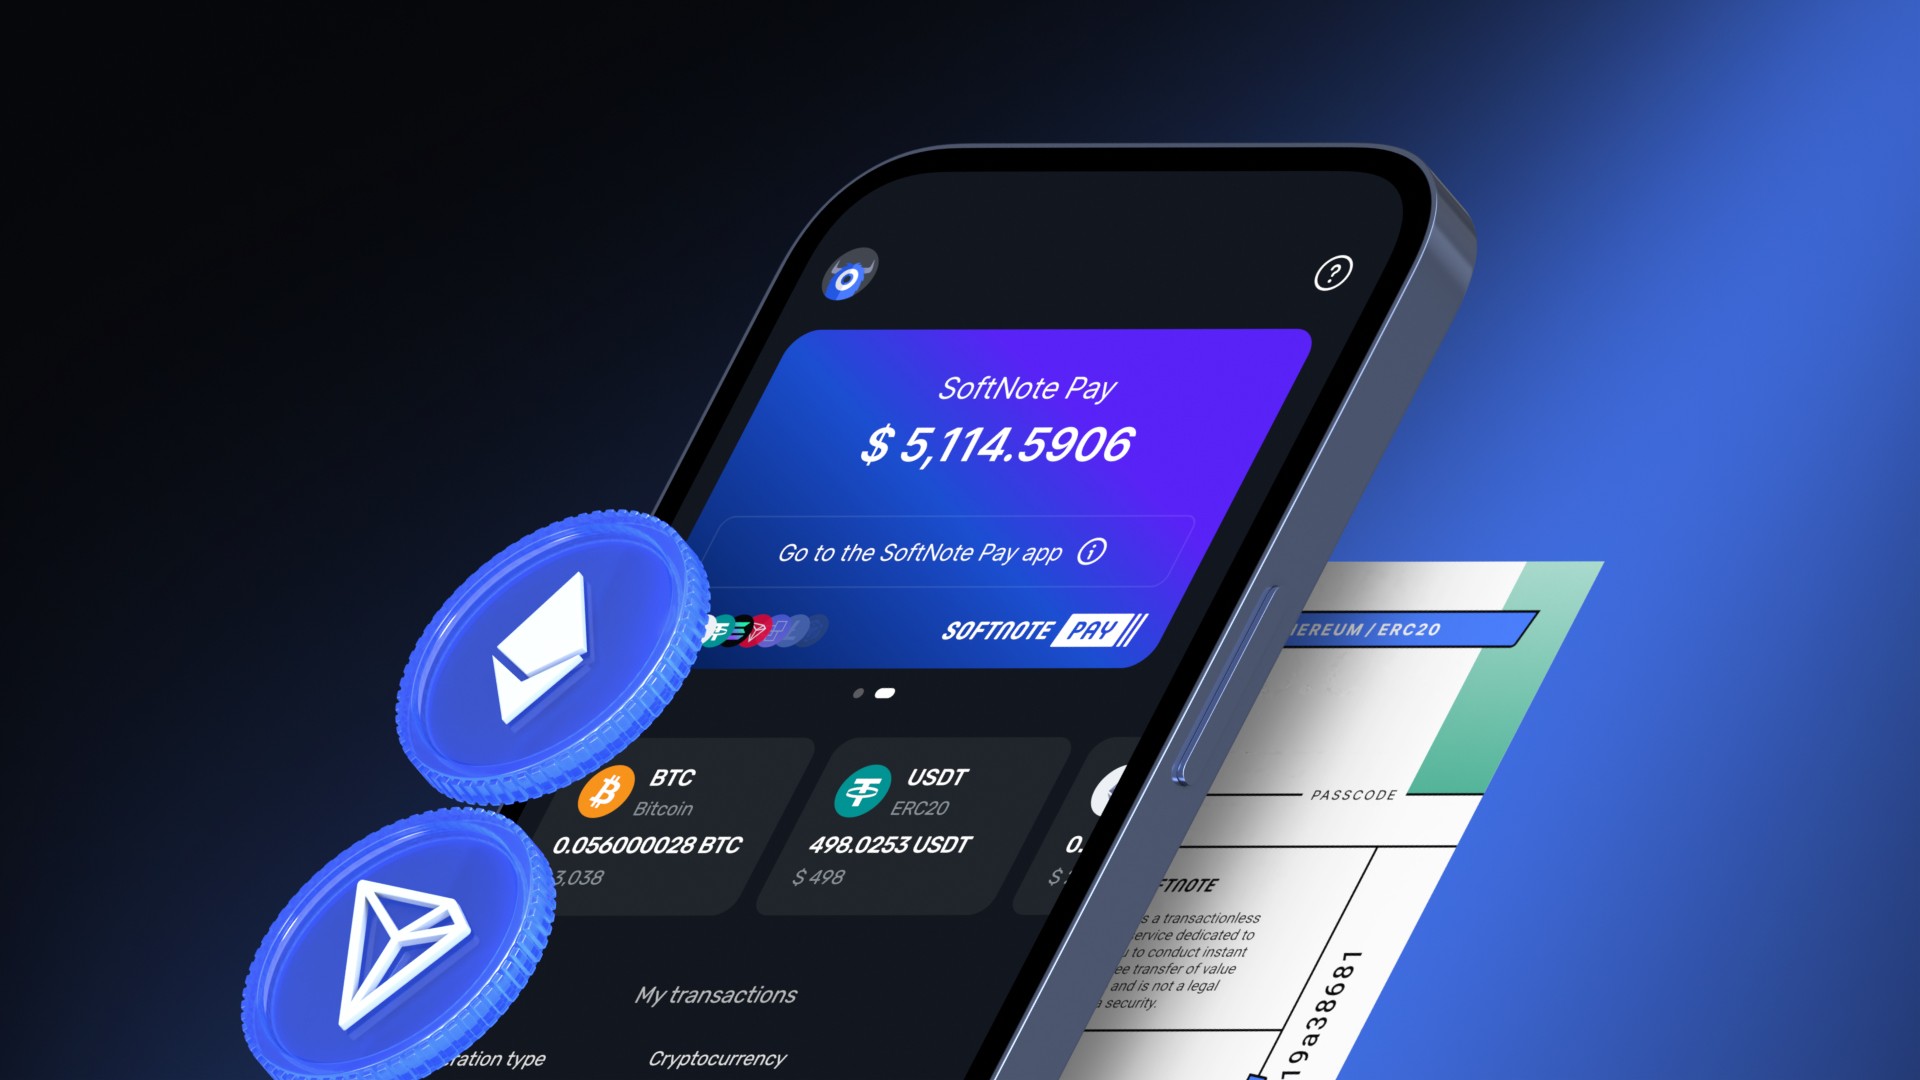
Our goal was to create a user-friendly and secure wallet where you can manage both SoftNote bills and your cryptocurrency assets. To achieve this, our first step was to simplify the interface and enhance your user experience, making it as convenient and enjoyable as possible. As part of this effort, we have divided the original Wallet section, which previously stored both SoftNote bills and crypto assets, into two separate sections: My Bills and My Crypto.
This restructuring allows for a more intuitive and organized way to manage your financial assets, giving you clear access to your SoftNote bills in one section and your cryptocurrency assets in another. Each section is designed to provide you with the tools and features you need to manage your finances effortlessly and securely, ensuring a smoother and more streamlined experience.
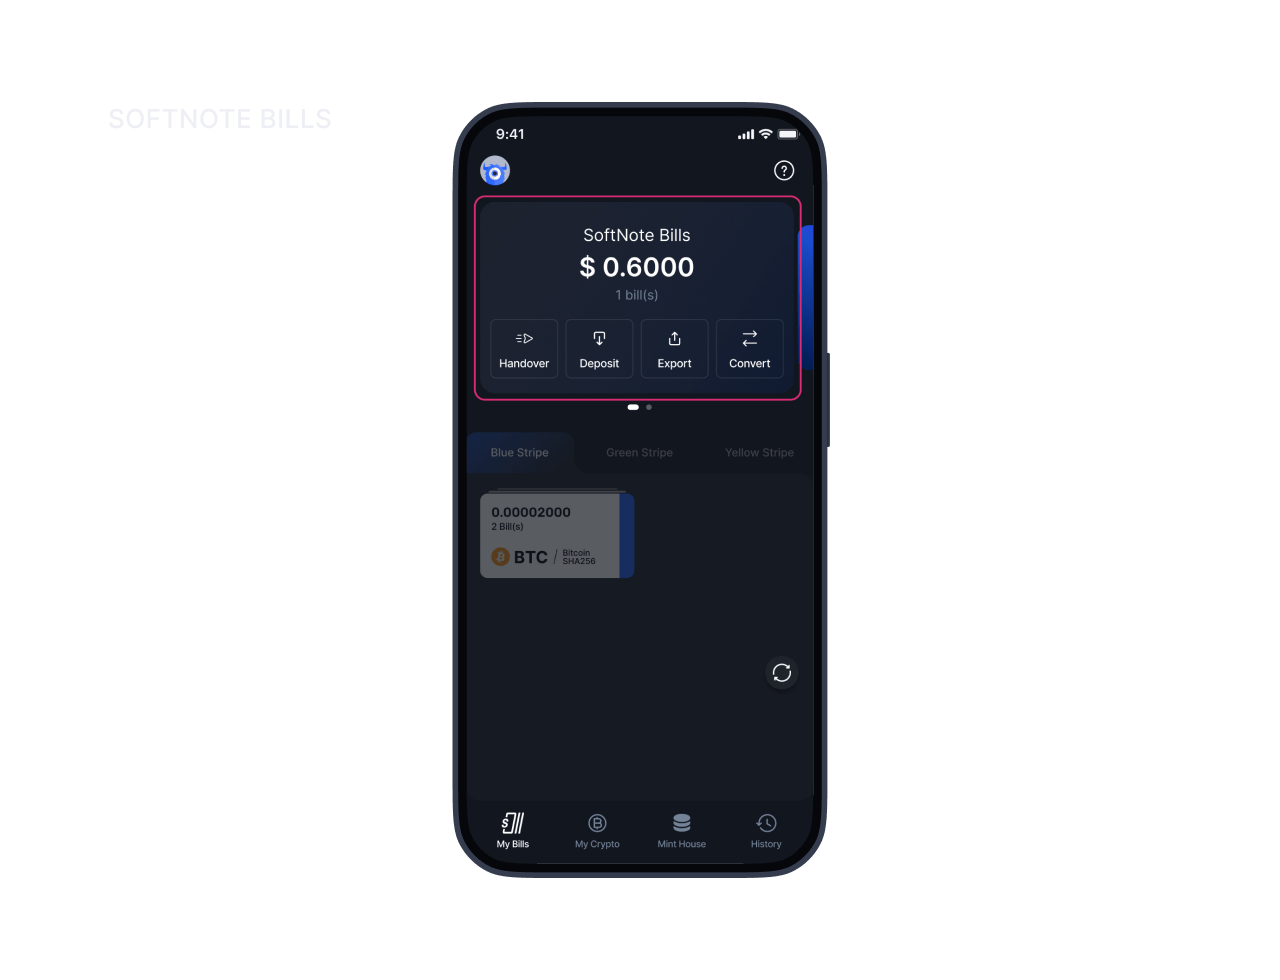
This section is dedicated to managing your SoftNote bills and is divided into two areas: SoftNote Bills (ex X-port Ready) and SoftNote Pay (ex SoftNote Wallet).
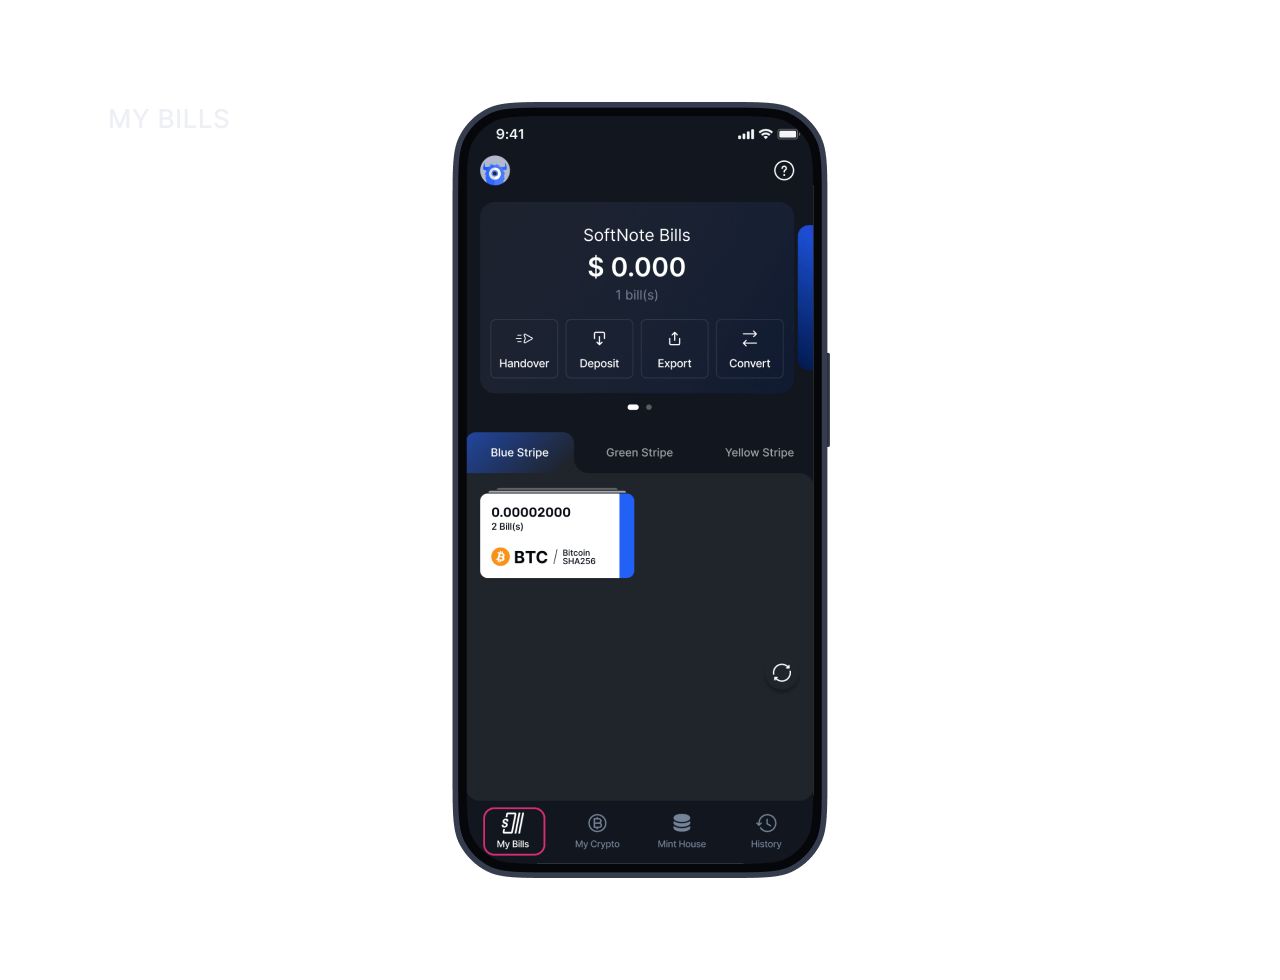
In the SoftNote Bills (ex X-port Ready) area, you can fully manage your SoftNote bills. This includes sending bills to others, depositing them into your wallet, exporting them from off-chain mode, and converting them into your SoftNote Pay balance. Here, you can check the total balance of all your liquidity-filled bills.
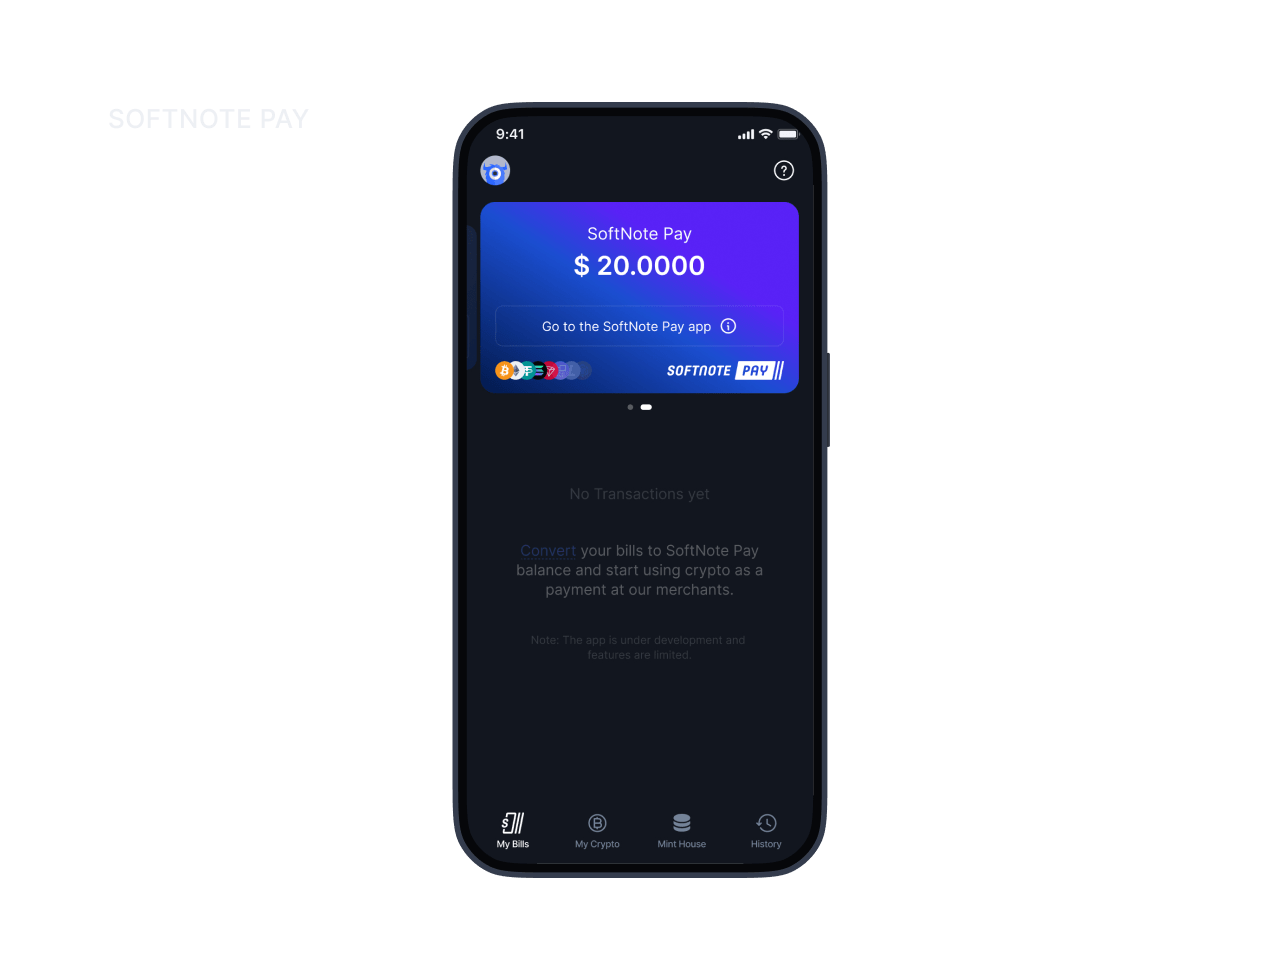
SoftNote Pay (ex SoftNote Wallet) is our unique payment platform, functioning like a virtual card that allows you to make purchases with our partnered merchants. Currently, within the wallet, you can access your SoftNote Pay balance and transaction history. However, our team is actively working on developing a mobile application that will enhance your experience with SoftNote Pay, making it even easier and more convenient to use.
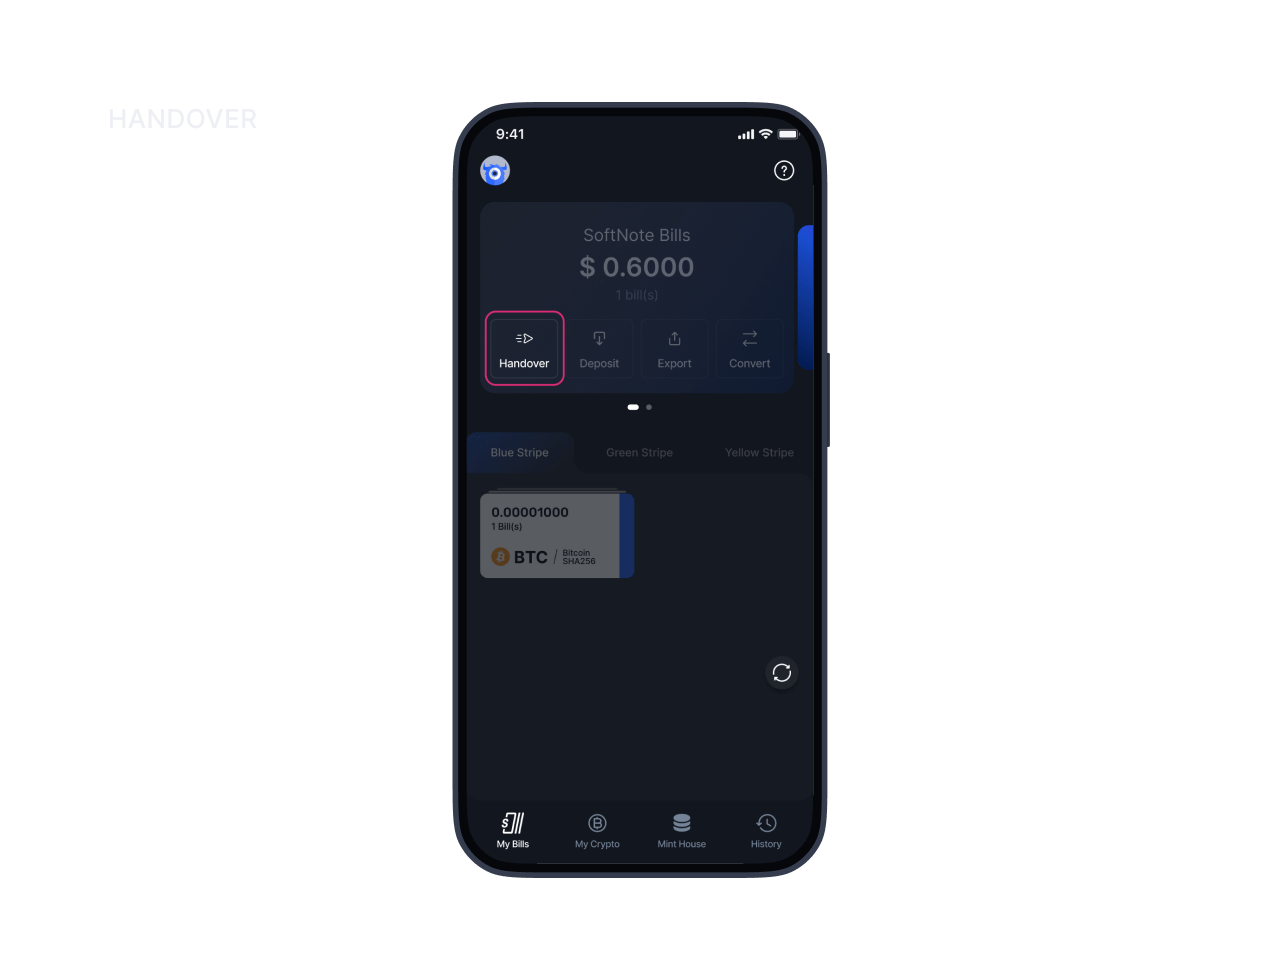
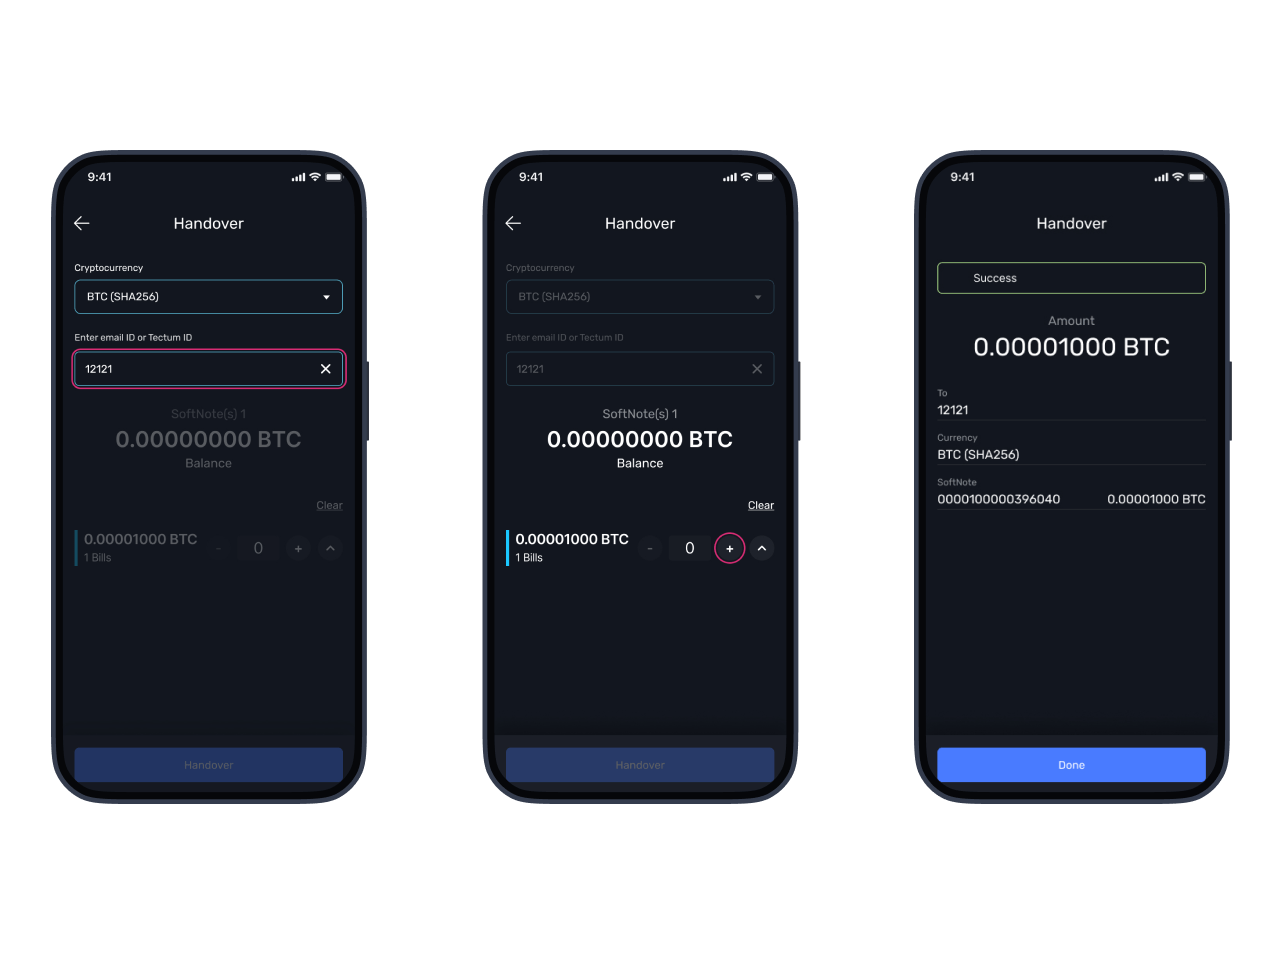
You can easily transfer SoftNote bills to other users. Simply choose the currency, enter the recipient’s Tectum ID or email, select the denomination and number of bills, and send them instantly. If the recipient doesn’t have a SoftNote Wallet, they’ll receive an email notification to claim their bills.
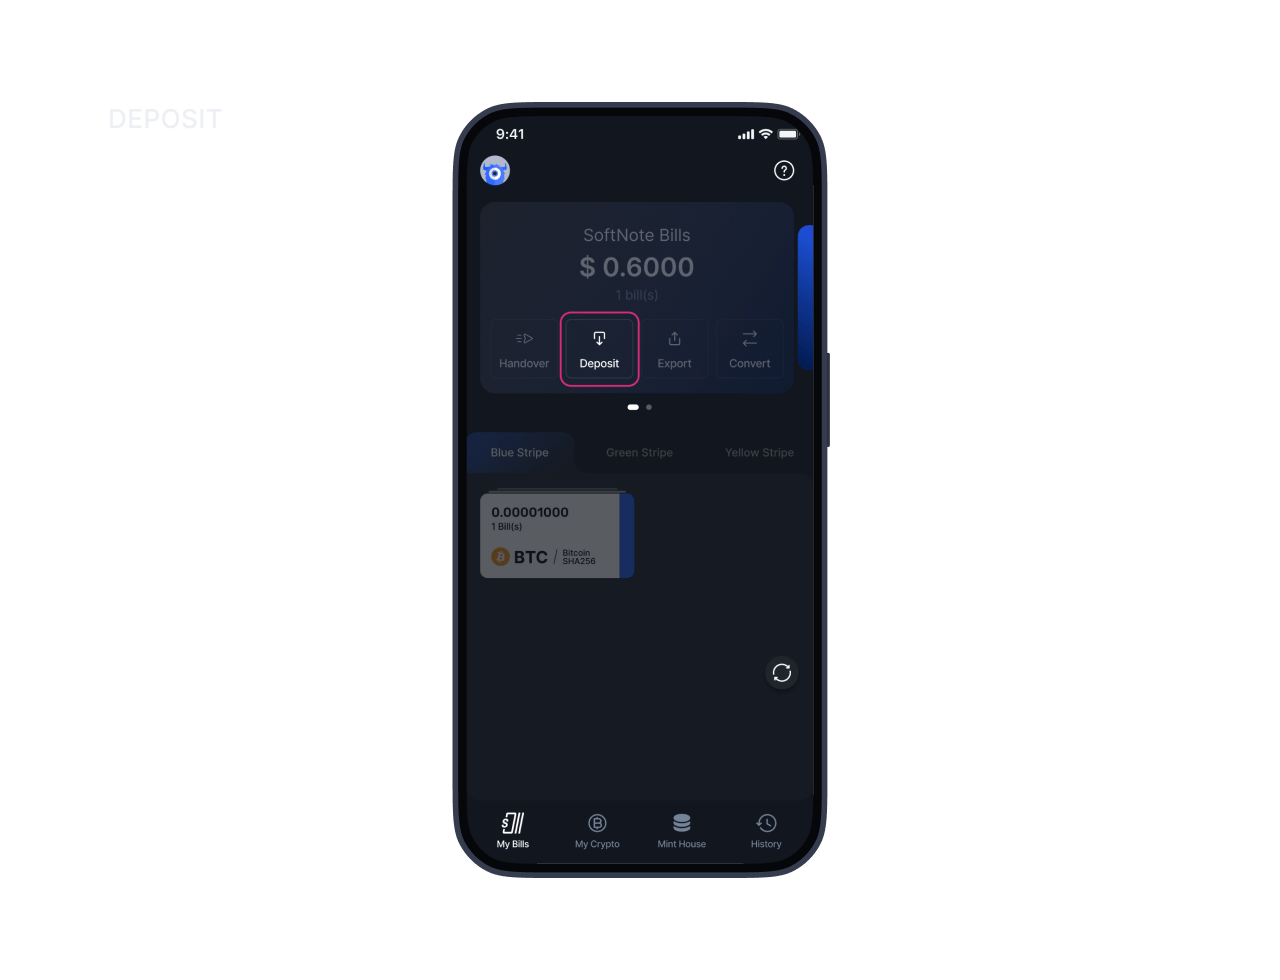
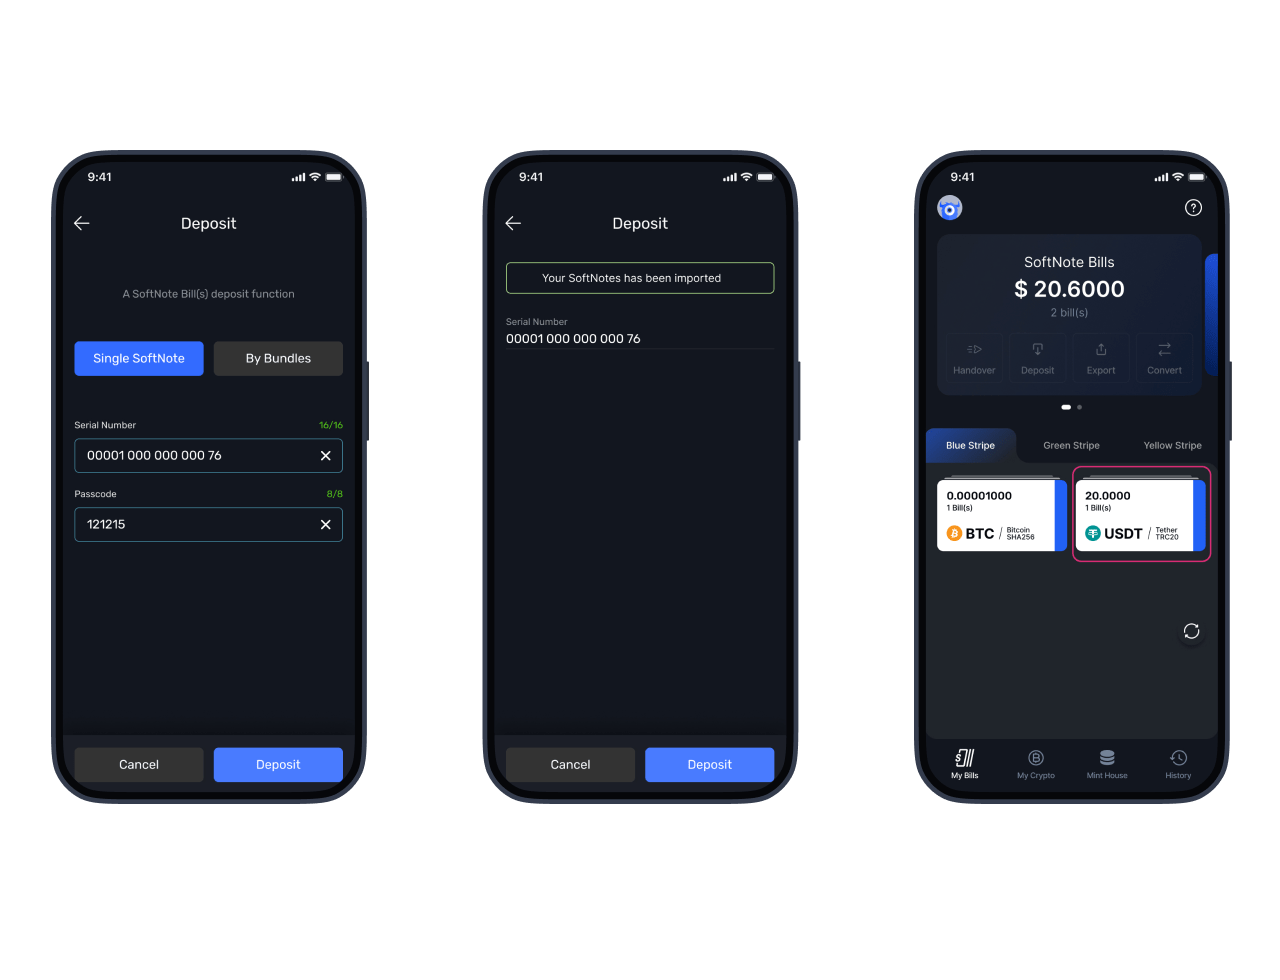
You can deposit your SoftNote bills directly into your wallet by entering the serial number and passcode. Once deposited, the passcode will change, and you’ll be able to access the new one when exporting the bill.
You can find the deposited bill on the SoftNote Bills page.
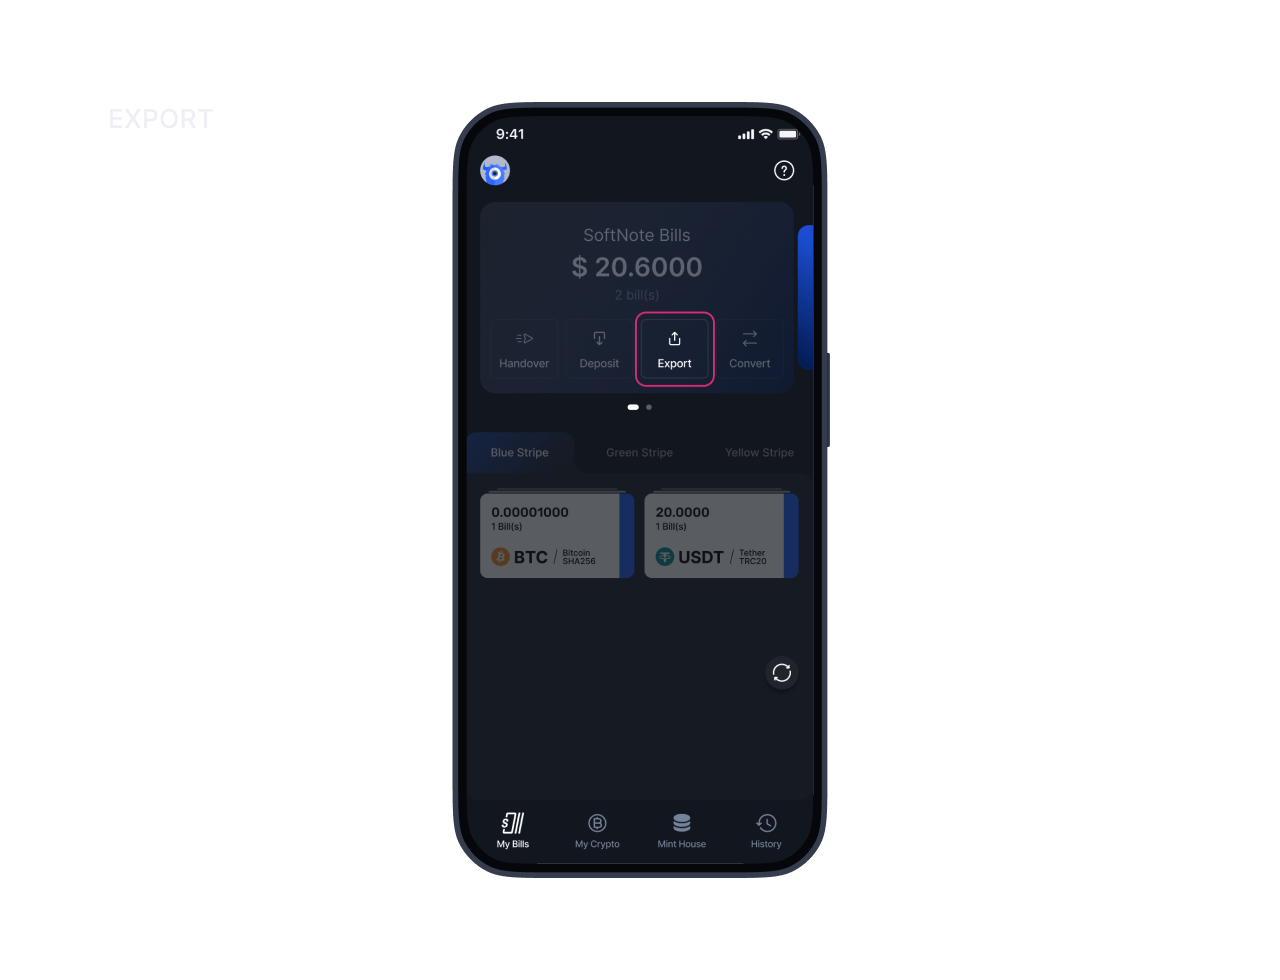
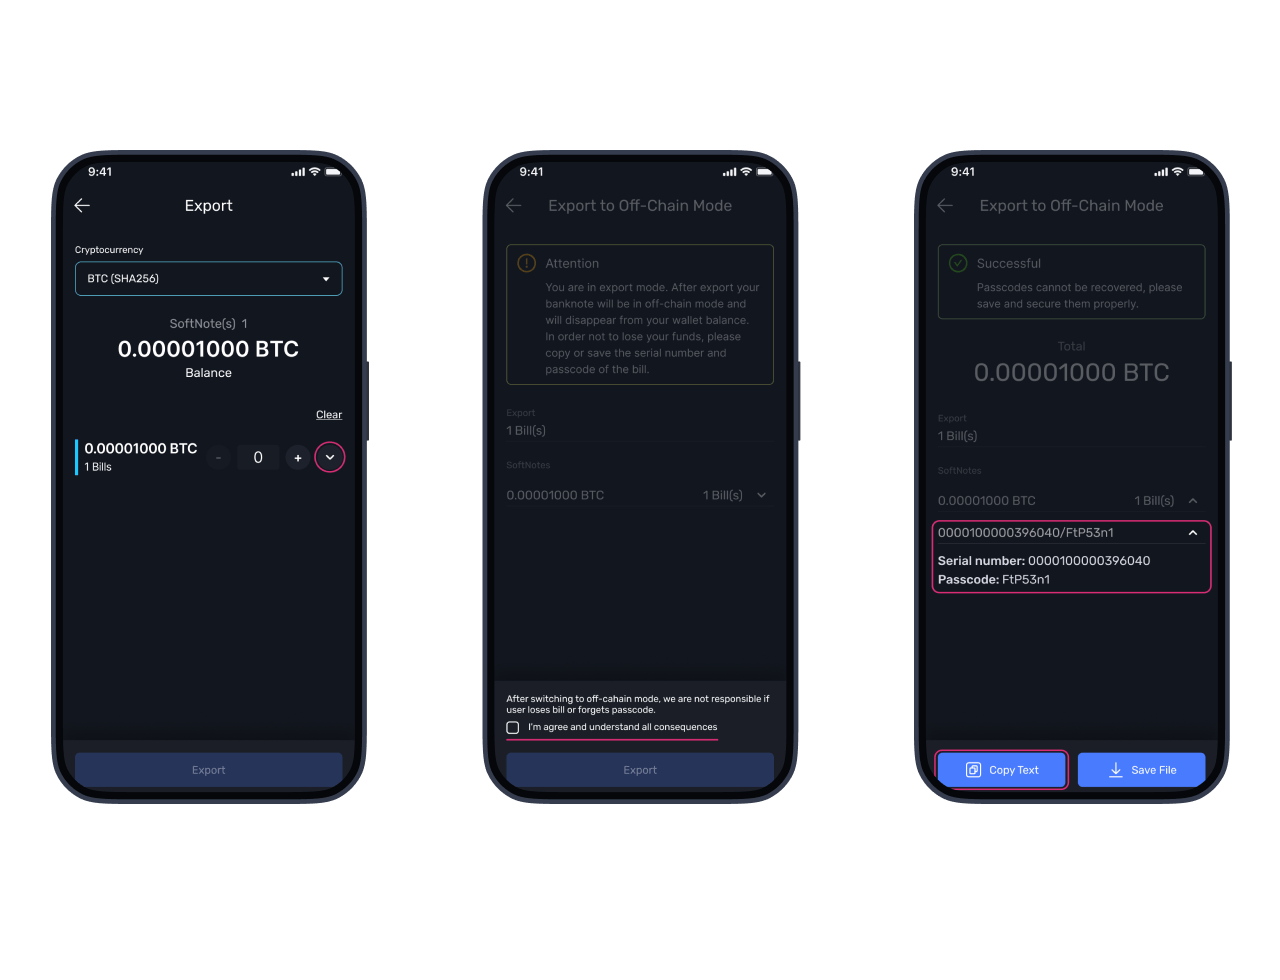
The Export function is used for burning the bill and exporting it from off-chain mode. By selecting the currency, denomination, and number of bills, you can easily export them. After exporting, you’ll gain access to the new passcode. Remember to save the serial number and passcode to avoid losing your funds.
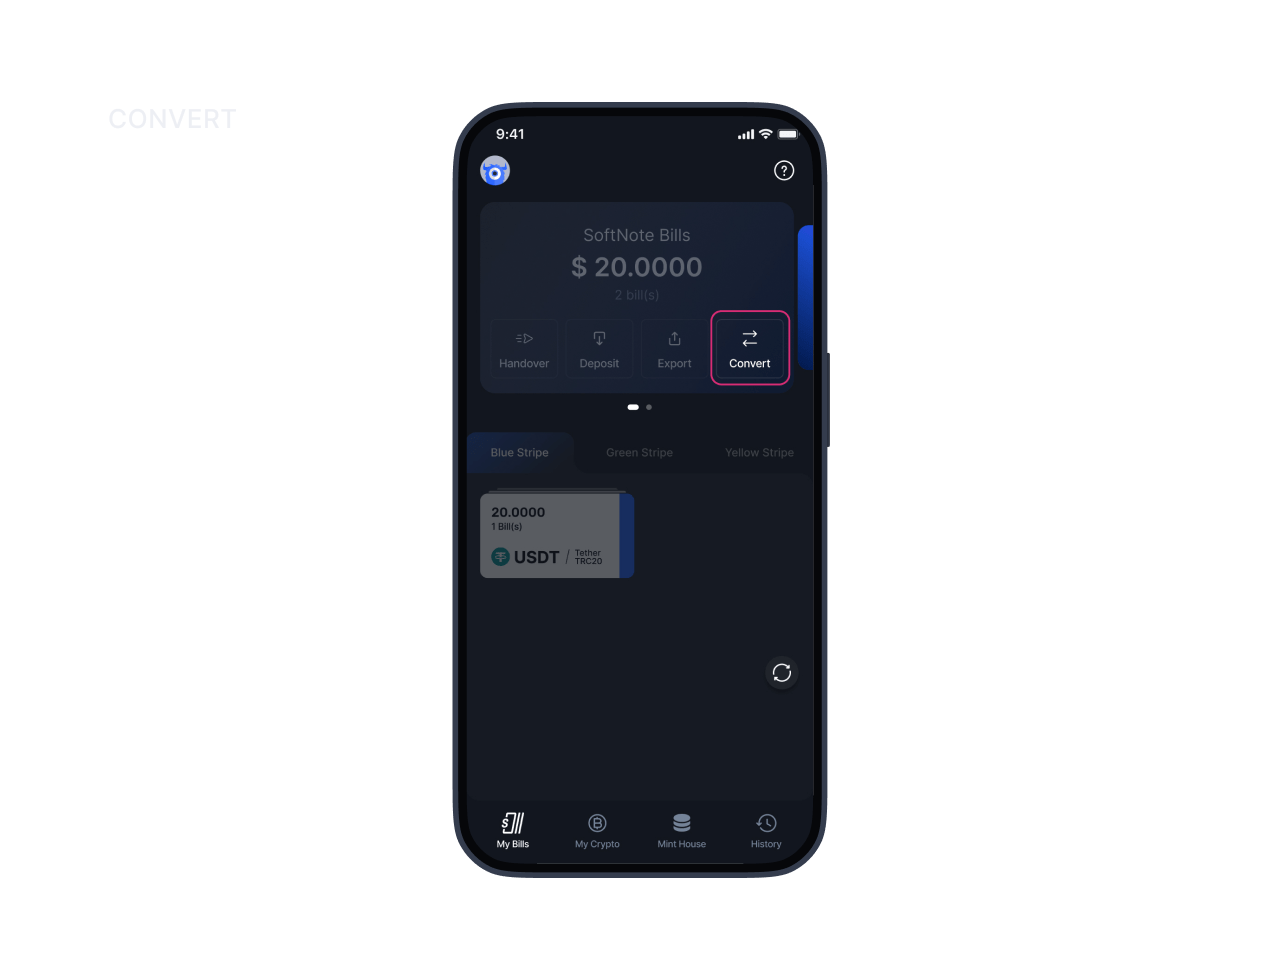
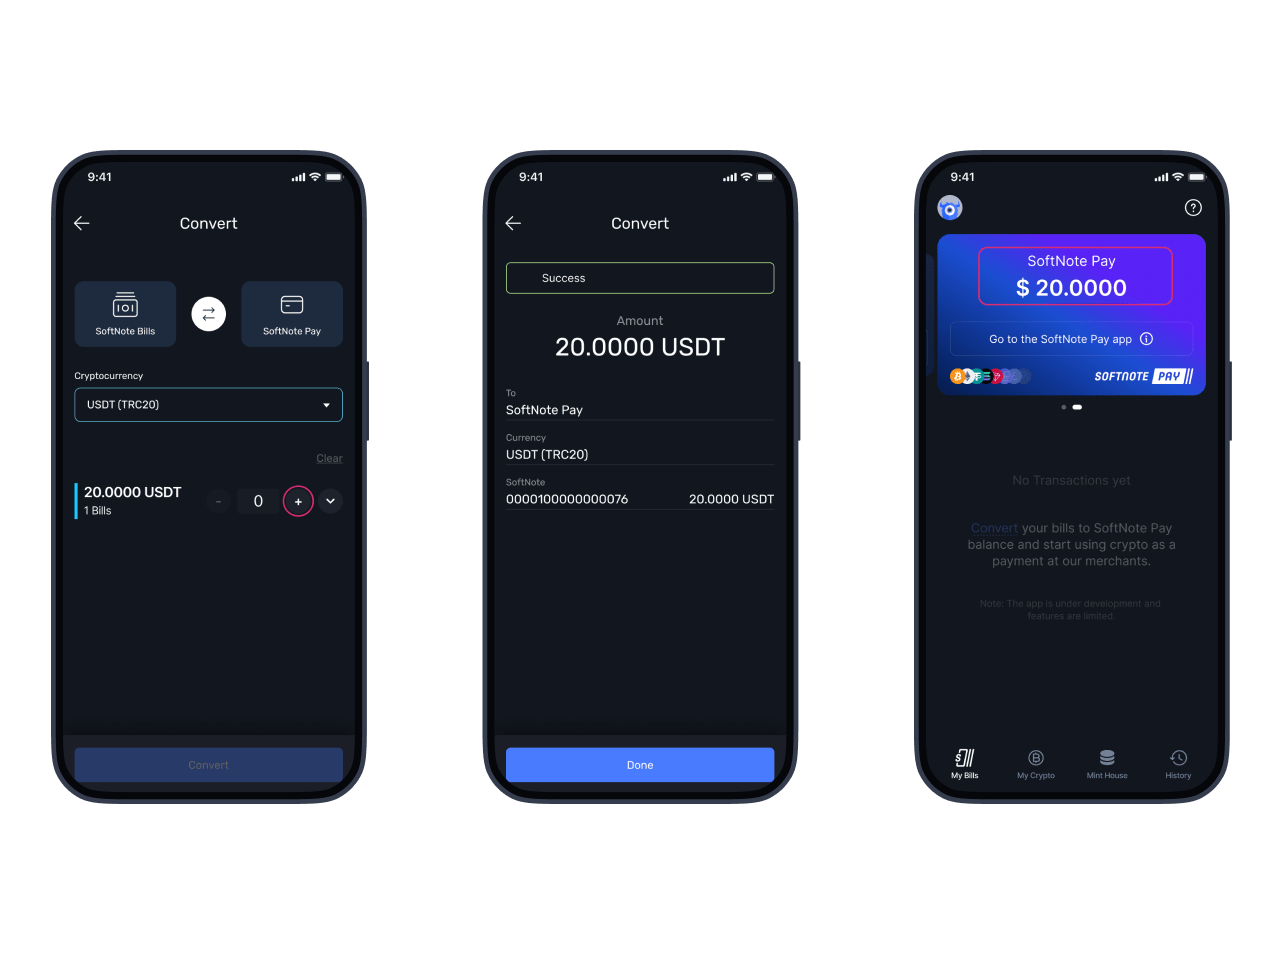
The Convert (ex Import) feature in the My Bills section allows you to easily transfer funds between your SoftNote bills and your SoftNote Pay balance. To use this feature, select the currency you want to convert, choose the denomination and number of bills, and click the Convert button. Once the transaction is confirmed, your balances will update instantly.
If you want to transfer funds back from your SoftNote Pay balance to your SoftNote bills, simply click the Convert button again. In the window that opens, press the button with the arrows to switch the direction of the transfer. Then, repeat the process by selecting the Pay balance, choosing the currency, and selecting the available denominations of bills that you want to refill with liquidity.
This streamlined process provides flexibility in managing your funds, allowing you to effortlessly move between saving with SoftNote bills and spending with your SoftNote Pay balance.
Now, let’s explore the My Crypto section.
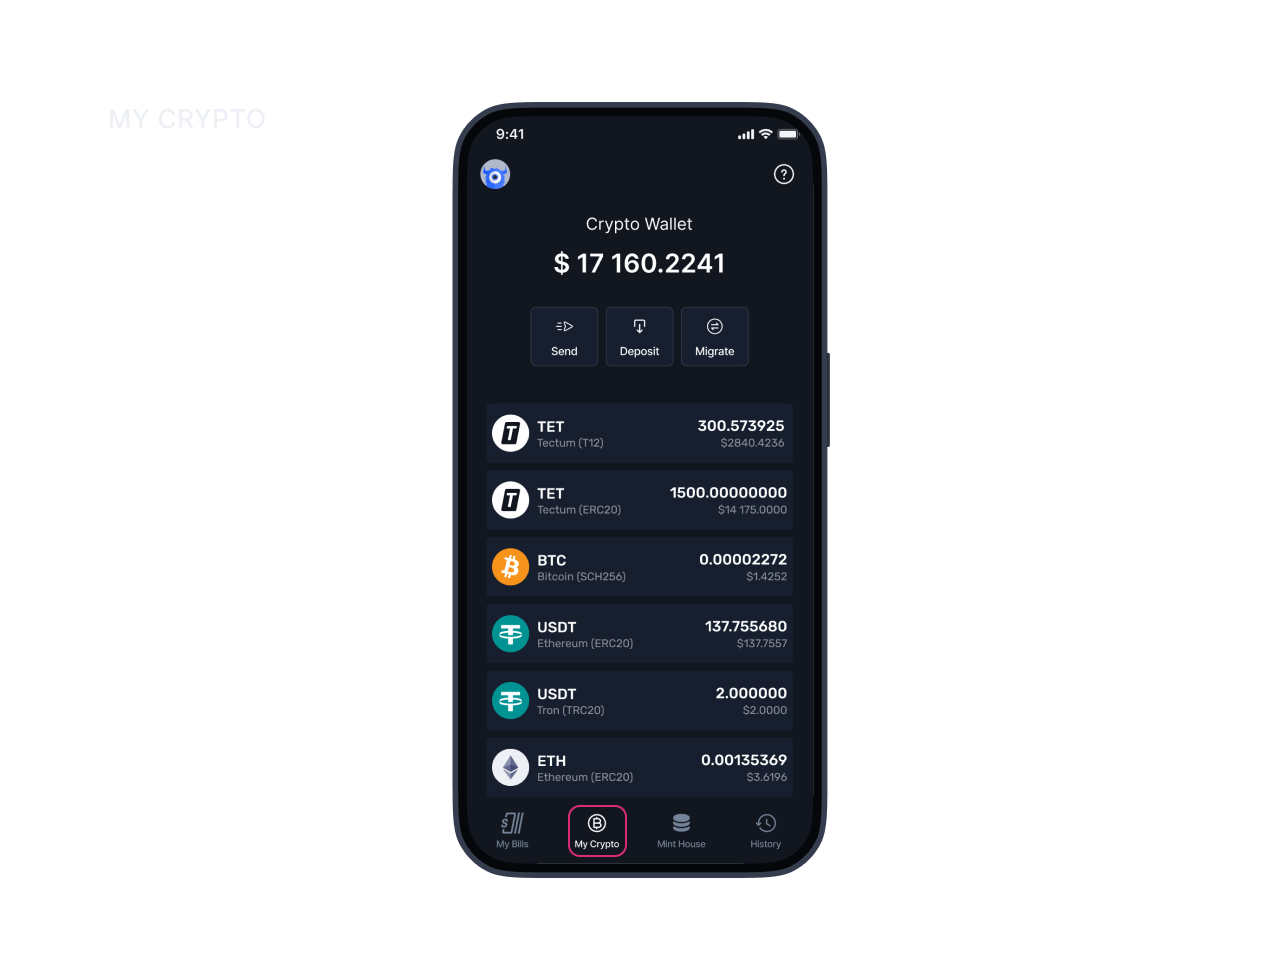
The My Crypto section is where you can securely manage your cryptocurrency holdings. Whether it’s Bitcoin, Ethereum, or other supported digital assets, this section provides you with all the tools you need to oversee your crypto portfolio.
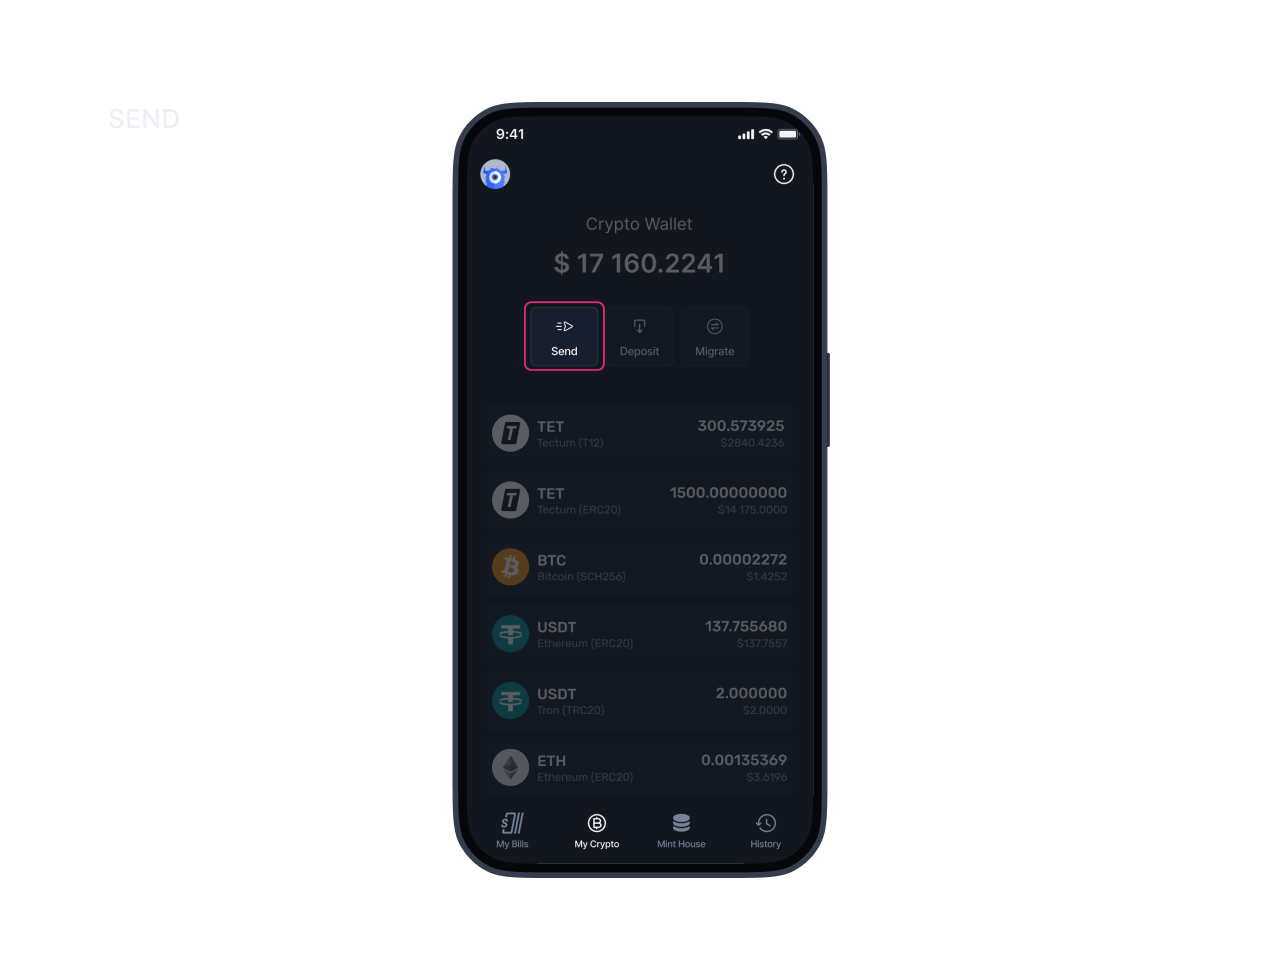
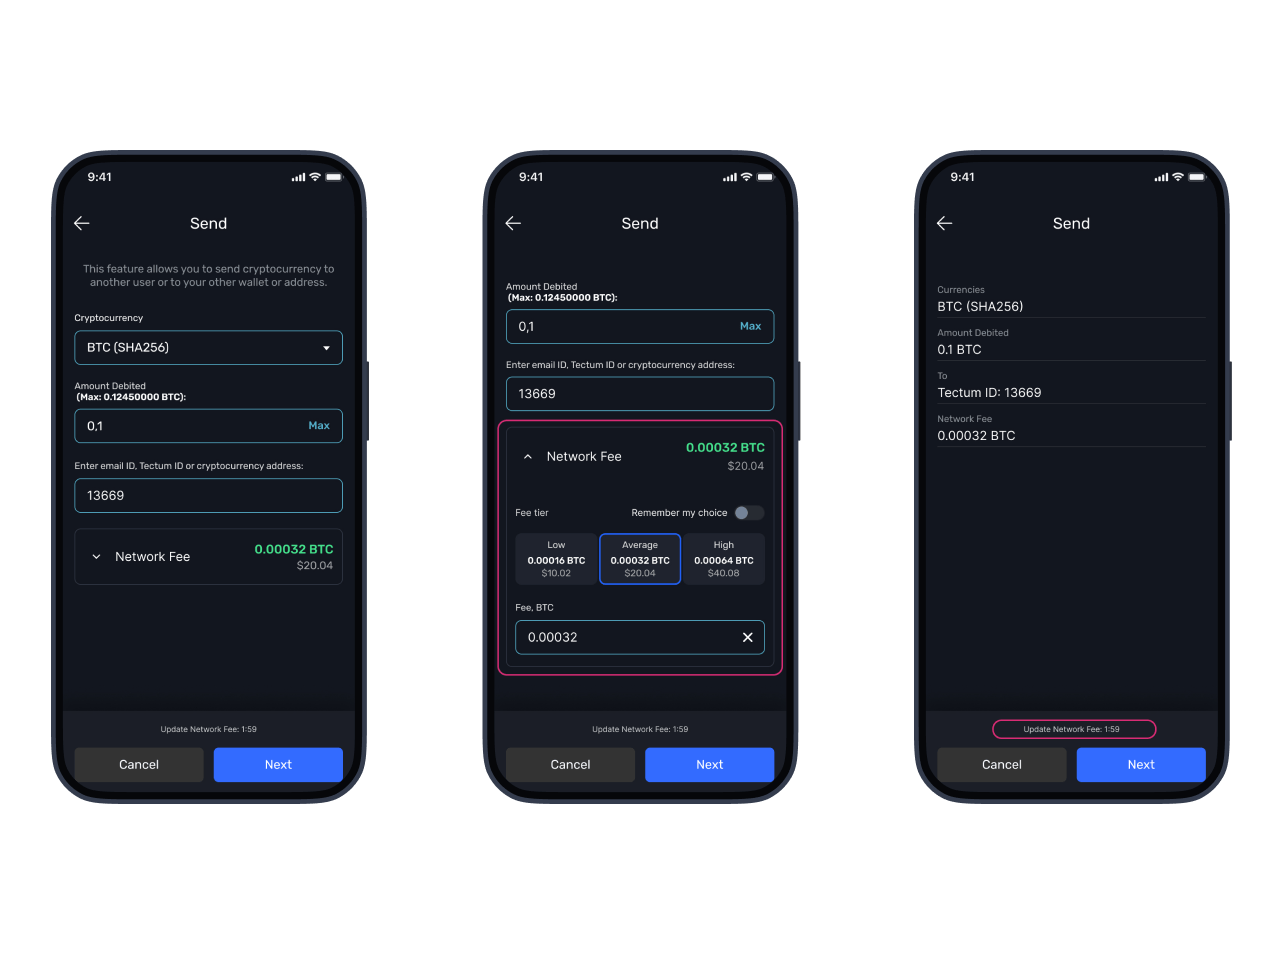
Easily send cryptocurrency to another user. Simply select the currency, enter the recipient’s wallet address, specify the amount, and choose the network fee. The process is straightforward, ensuring your transactions are completed efficiently.
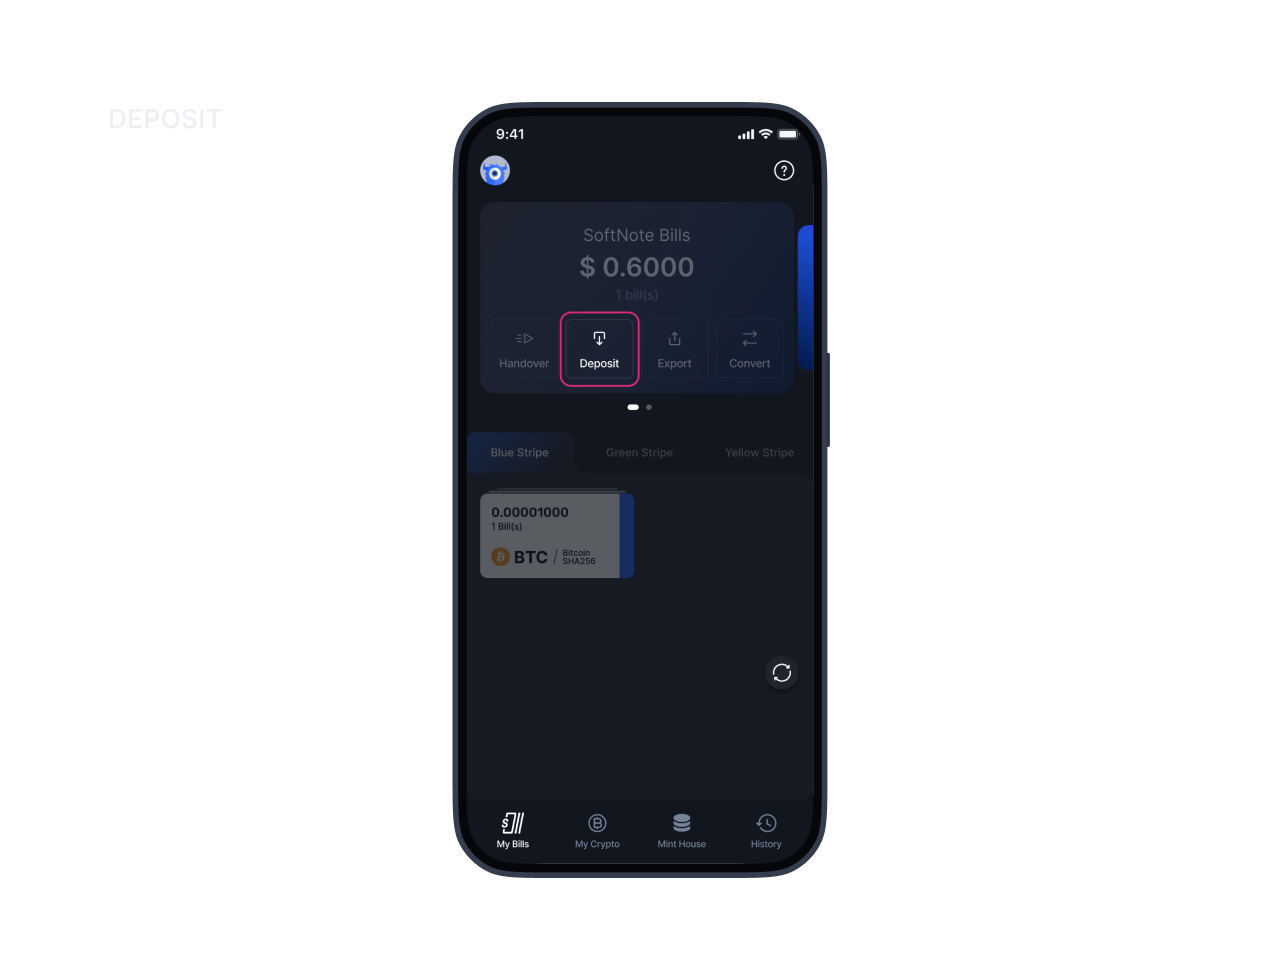
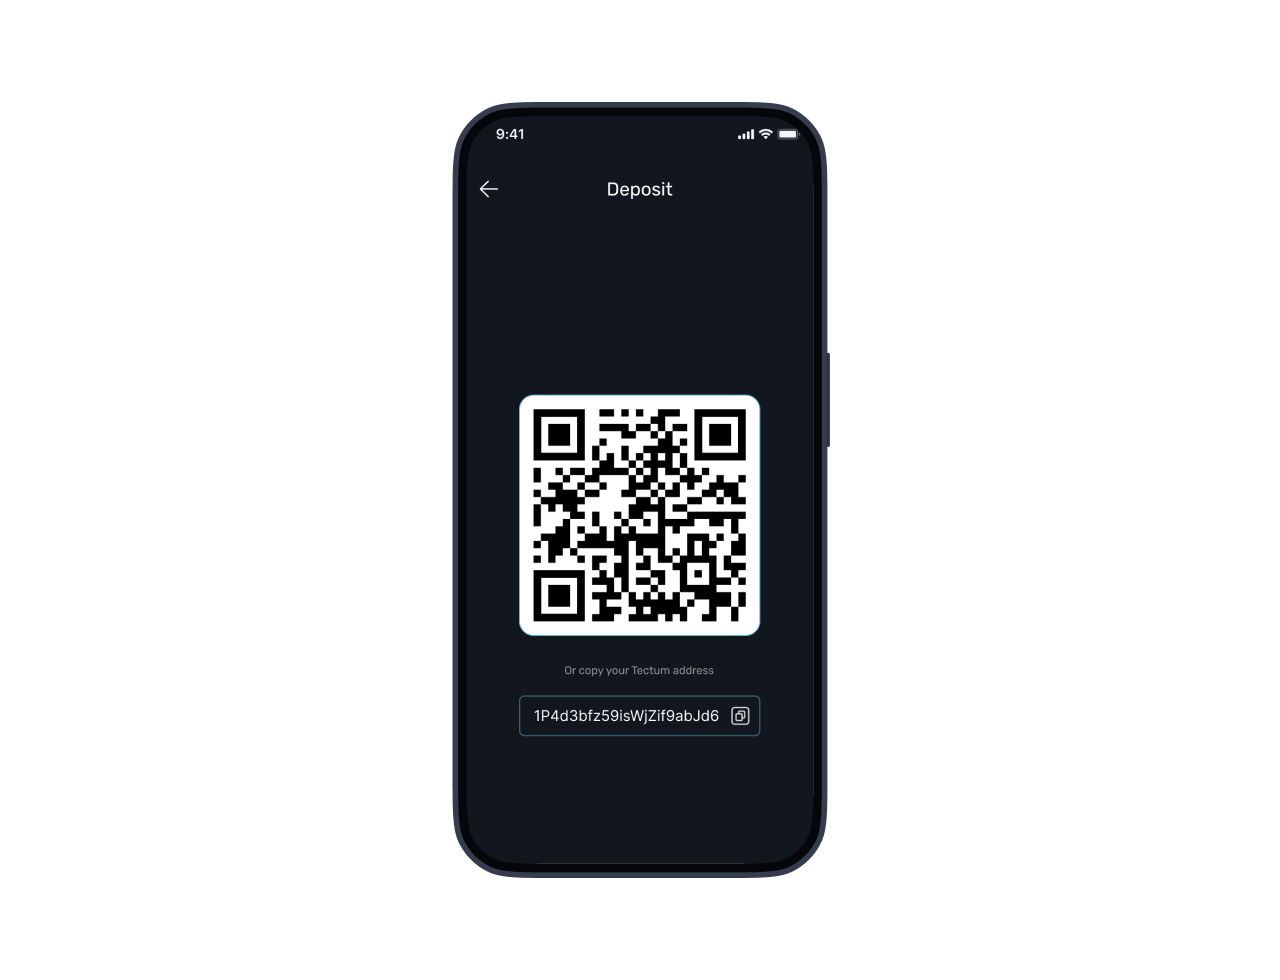
You can deposit cryptocurrency into your wallet by copying the unique wallet address or scanning the provided QR code. Once you have the address, you can send funds from an external wallet or exchange to your SoftNote Wallet. This process is seamless, making it easy to add funds to your account.
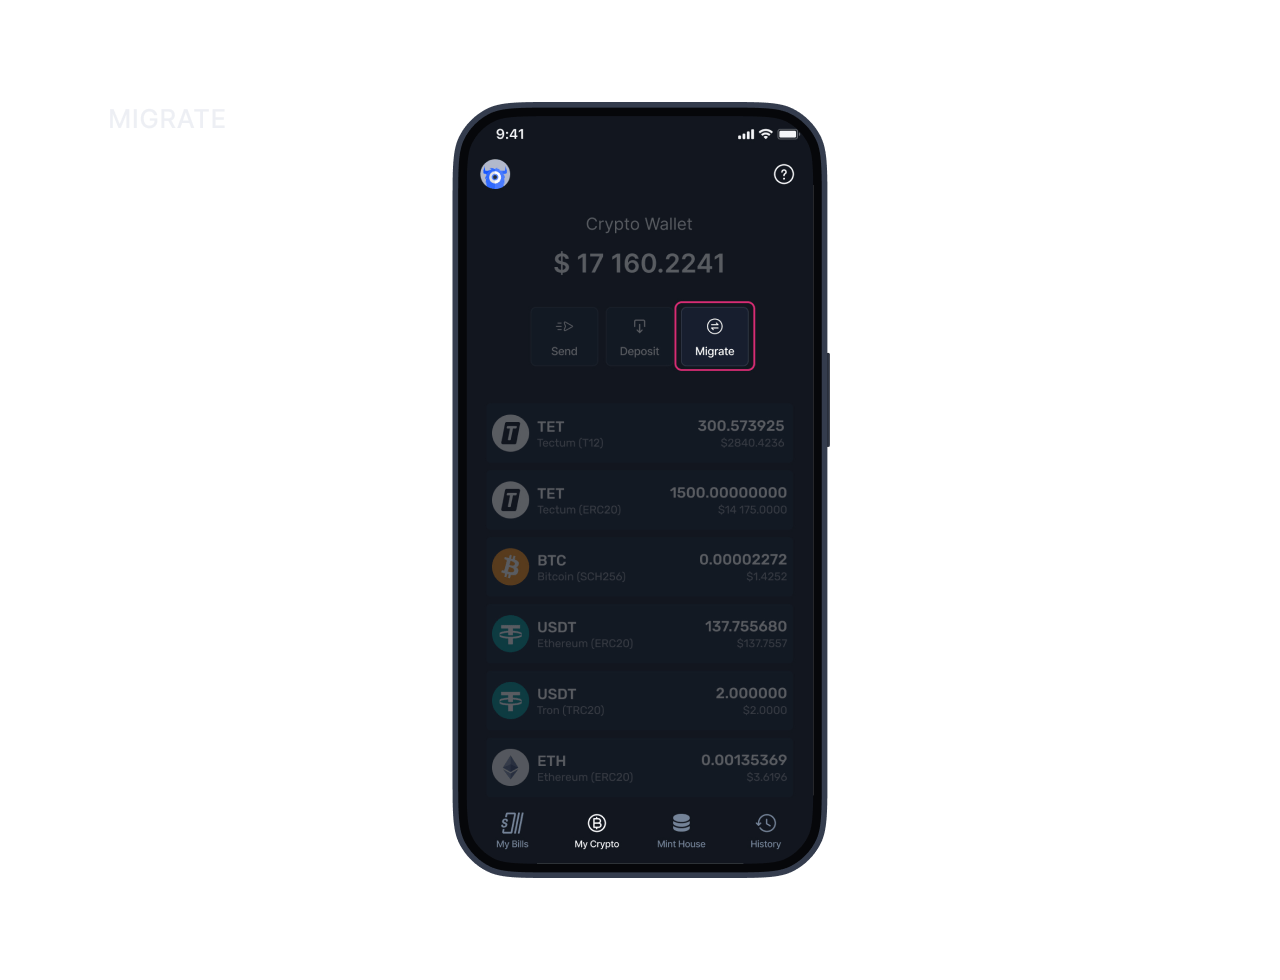
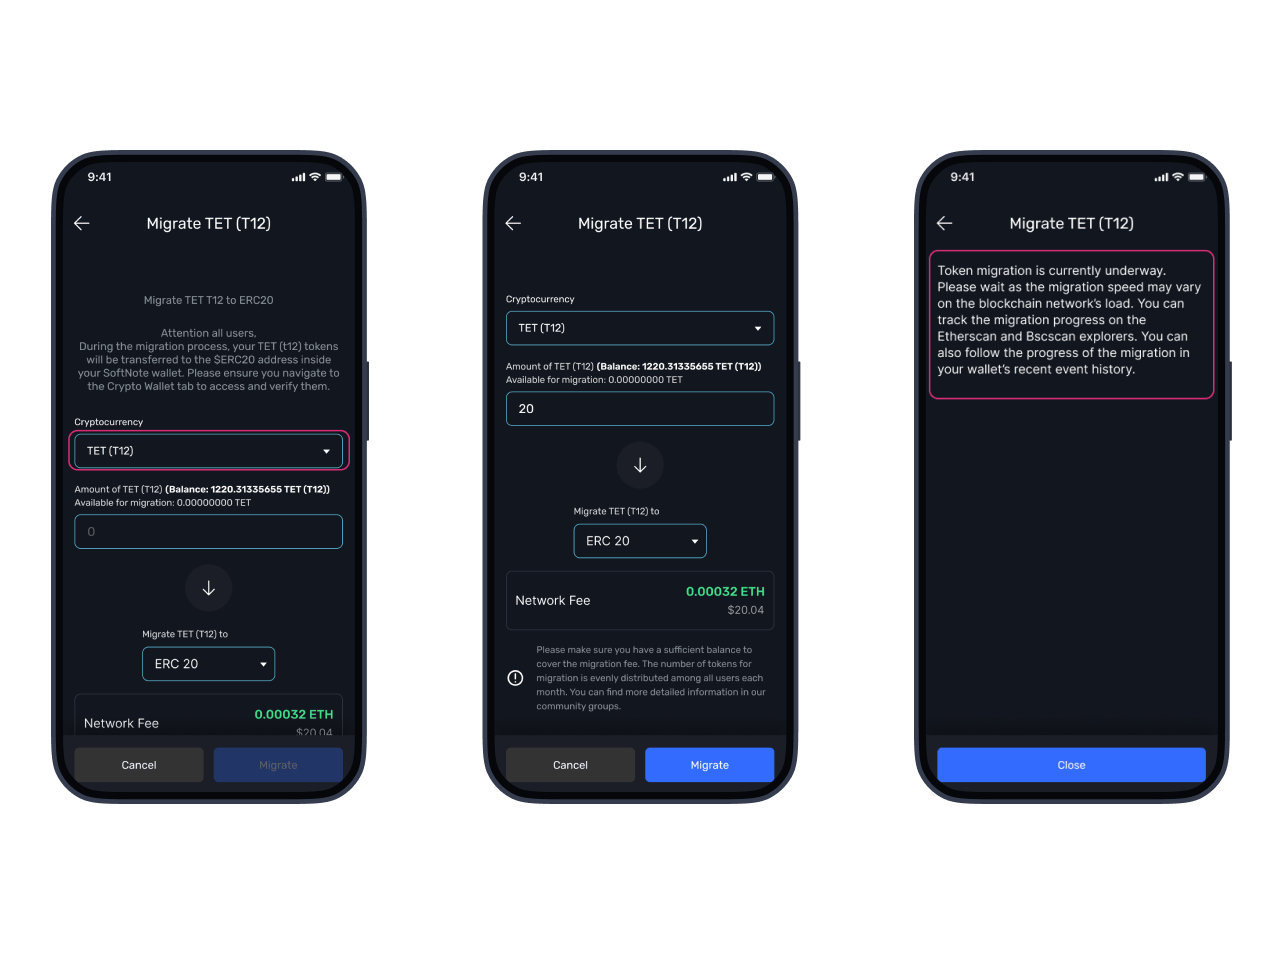
The My Crypto section supports token migration. For instance, you can migrate TET tokens from one network to another, such as from T12 to ERC20. During the migration process, your tokens will be transferred to the corresponding address inside your SoftNote Wallet. It’s important to ensure you have enough funds to cover the network fees before proceeding with the migration.
The My Crypto section is designed to give you complete control over your digital assets, making it easier than ever to manage, send, and receive cryptocurrencies securely within the SoftNote Wallet.
This concludes the first part of our introduction to the SoftNote Wallet mobile app. We’ve explored the key sections—My Bills, My Crypto —giving you an overview of how to manage your SoftNote bills and cryptocurrency assets.
Stay tuned for the next part, where we will delve deeper into other features of the wallet, including advanced security settings,Mint House, and more. We look forward to continuing this journey with you, helping you get the most out of your SoftNote Wallet experience.